This is a note to self really, as I find that when I come to transfer an LP to computer once every few months I have forgotten how I did it before so it takes me twice as long as it should. There are a lot of possible variations in this process, but this basic workflow does the job for me. I hope it might be useful to someone else too.
Setting up
- A turntable connected to an amplifier. In my case, an old (but still lovely) DUAL CS 505-3
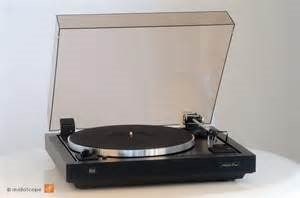
with a Cambridge Audio Azur 551P pre-amp, and a Cambridge Audio Topaz AM1 amp.
- A connection from the turntable to the computer. I have a Xitel gizmo (currently called the “Xitel INport Deluxe Analog to Digital Audio Recording Kit”) that converts from normal red/white HiFi leads to a USB port on the PC.
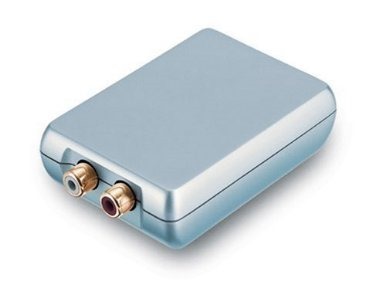
NB don’t use the recording software that may come with this device – Audacity is much better!
It would be even easier with a USB turntable, but I'm told quality suffers.
- A PC running Audacity. And plenty disk space.
There might be some footering about to ensure that you have the correct recording input in Audacity. Mine has to be set to “Line (INport)”.
Set the recording level so that there is no clipping. Do this by starting recording, and adjusting the Input Volume. I have it at 0.52 at the moment, though it could probably safely be a bit higher. The important thing is not to have it too high, as that leads to distortion.
Recording
Once the levels are OK we are ready to record. Start recording, then drop the needle, and sit back to enjoy the music. Here we are recording Melanie’s Garden in the City album (complete with scratch ’n’ sniff “smell Melanie’s Magic Garden” sleeve!):
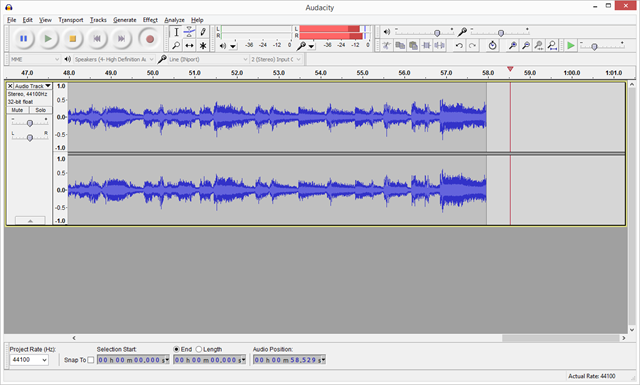
At the end of the first side, hit Pause (the top left button in the screenshot above). After turning over, but before dropping the needle, I hit Pause again to restart recording, then drop the needle.
And the end of the LP, hit Stop (third button along).
Cleaning up
Now it’s time to clean up the track before exporting. At present it is not saved to disk in any place you will find it again. It you don’t have time to complete the clean up and export job before shutting down, then you should save the Audacity project (File > Save Project…). If doing everything in one go, I usually don’t bother saving at all, not least because after saving the project to disk everything becomes much slower, as it seems to write all changes back to disk automatically (at least, the disk access light on my NAS drive flashes when I do anything).
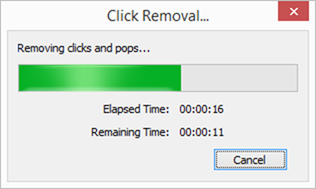
The first clean-up task I run is click removal, because almost all old LPs have a few big clicks. This doesn’t remove every one of them but I think it helps, without collateral damage.
Effect menu > Click Removal… (I accept the default settings):
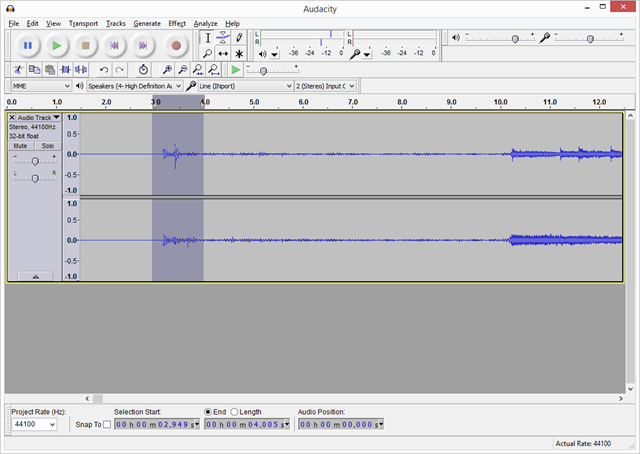
At the beginning of each side of the LP, I remove the initial clunk of the needle drop by selecting and deleting that section (click and drag over the track, then hit the Delete key):
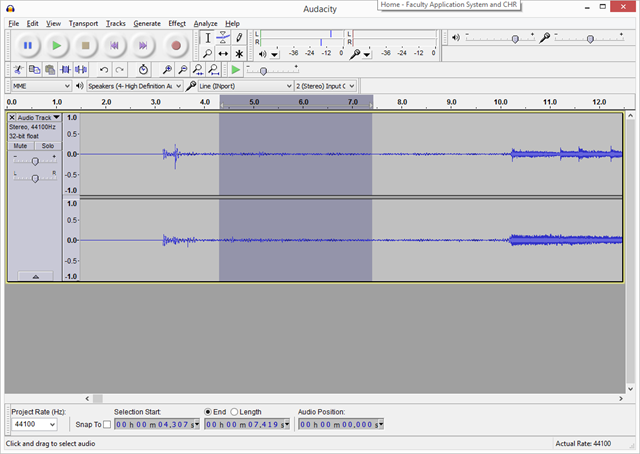
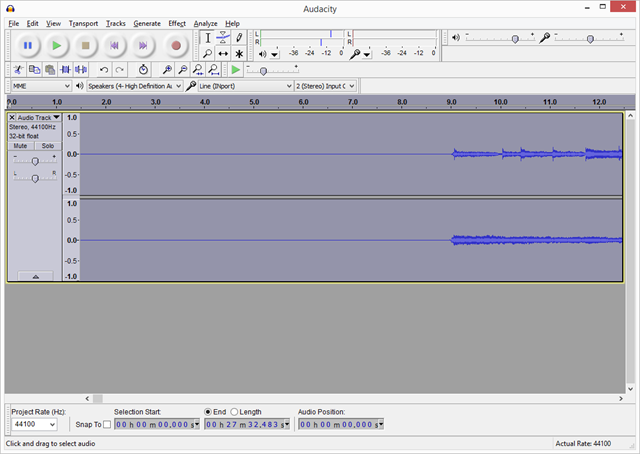
Now we can clean up the recording a bit more by removing the stuff you can see in the screenshot above before the music starts – in my case some hissing and crackling and a low throbbing hum. To do this, select a couple of seconds’-worth of the noise:
Then go to Effect menu > Noise Removal… and click “Get Noise Profile” button:
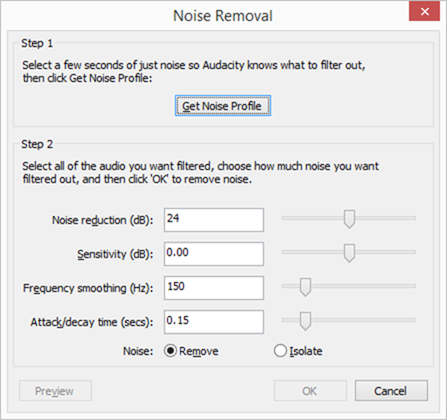
The dialogue closes, leaving you slightly unsure whether anything has happened, but don’t be perturbed. Now select the entire recording (Ctrl+A), and open the Noise Removal dialogue again. This time, click “OK”
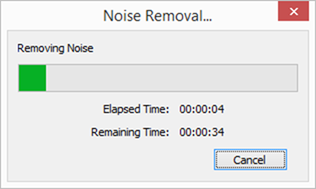
When it has finished, the grunge before the music should have vanished:
Next we need to identify and mark out the tracks. This is done by clicking into the track a short time before the track starts, e.g. as shown below, and using Ctrl+B. Things should look this as a new label appears:
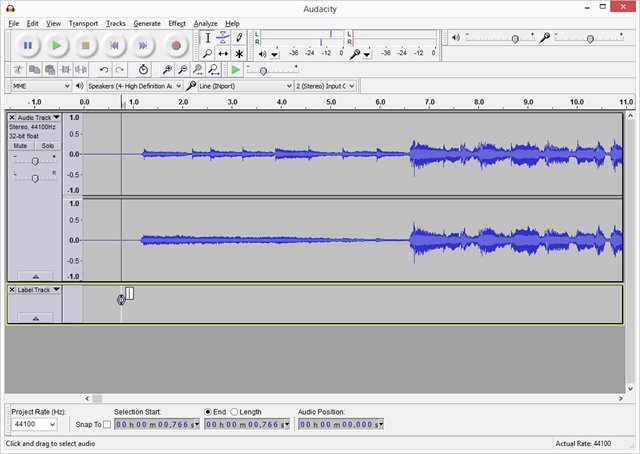
Simply type the track name. You can click back into this later to edit, though it is a little cantankerous (e.g. sometimes it refuses to accept the letter “k”!).
Now move through the recording identifying and labelling the beginning of each track. You should be able to play back sections simply by selecting them and hitting Play.
Exporting
When all tracks have been labelled and any clunks and gaps removed, it’s nearly time to export. But first, create some metadata for the album as a whole.
File menu > Edit Metadata…
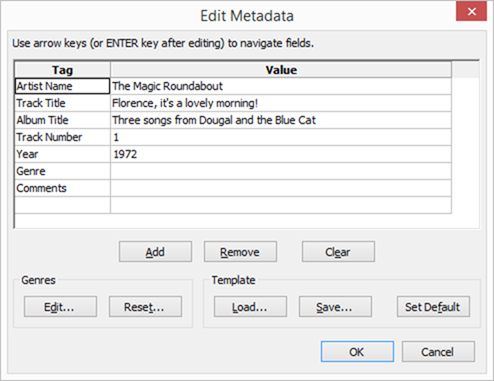
edit the metadata to set the album title and artist:
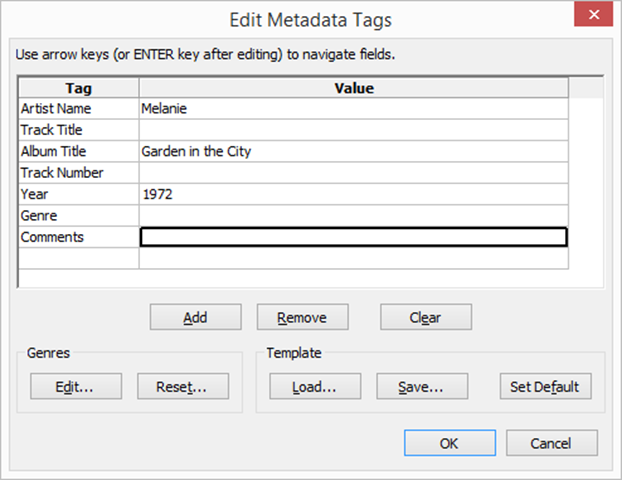
Now we are ready to export the tracks to disk in their final form:
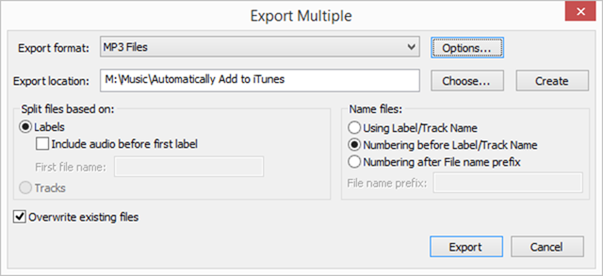
File menu > Export Multiple…
and change the destination folder and other options if needed. Here I am exporting as MP3 into the magic folder that is picked up automatically by iTunes:
You will then be taken through the metadata for each track where you can ensure the track name and number are correct:
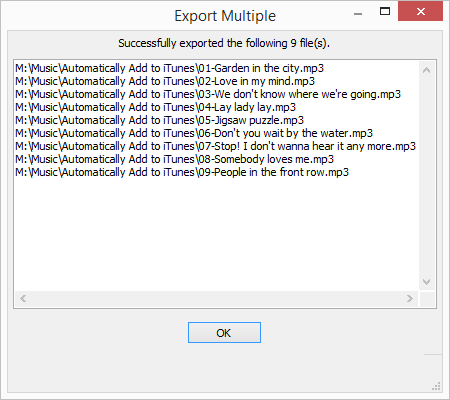
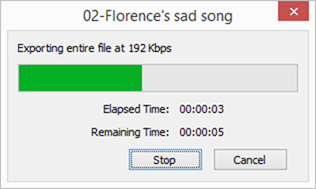
Then the export begins:
And that’s it. You now have your album/single saved out as files ready to play in iTunes or on the SONOS, or whatever.
